How to prepare your kite for launch
In this blog entry we will see how to prepare your kite for launch.
In our case, the kite is a Flysurfer type foil kite model of 6 square meters.
Back some time ago we already went into the topic of kite, lines and stuff and how to prepare it properly. This time we go into it through a photo sequence.

I consider important to mention that our kite student, Tuan, has get so far two kitesurfing lessons, in which he has gained progressively control of the kite, and, today, on his third day of lessons, he is going to prepare the kite for launch following my directions, being this his first time doing it.
Follow the pictures and see how to launch your kite foil safely, in detail and with success.
In the first photo, we see how Tuan is digs a hole to collect some amount of sand. This sand will be placed on the upwind tip of the kite.
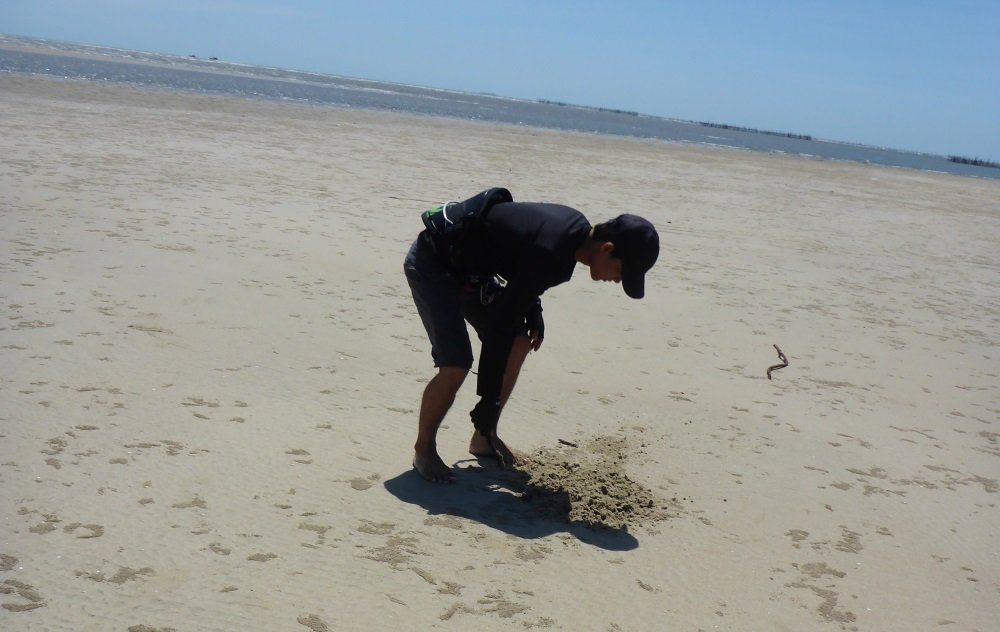
We should do so, considering the right amount of sand.
Not placing enough amount of sand may do the kite to launch too early, while too much sand will not allow the kite to launch.
Or, even worse, it would force the kite to fall to the center of the wind window and therefore will launch in the power zone, something that we should avoid by all means.
Therefore, place just the right amount of sand, not too little neither too much sand.
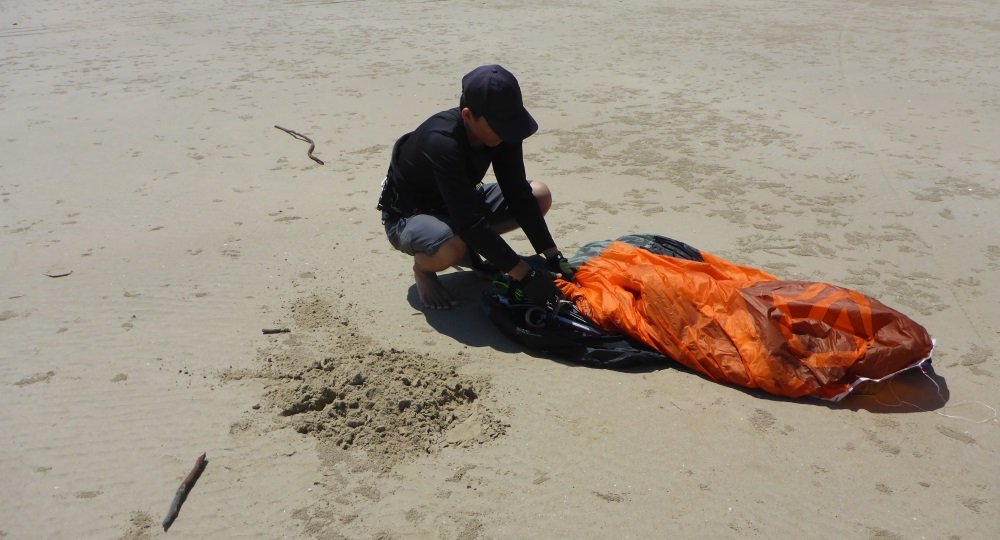
On the second and third photos, he is placing the sand through all the upwind tip of the kite.

And in the next one, Tuan extends the kite from upwind to downwind
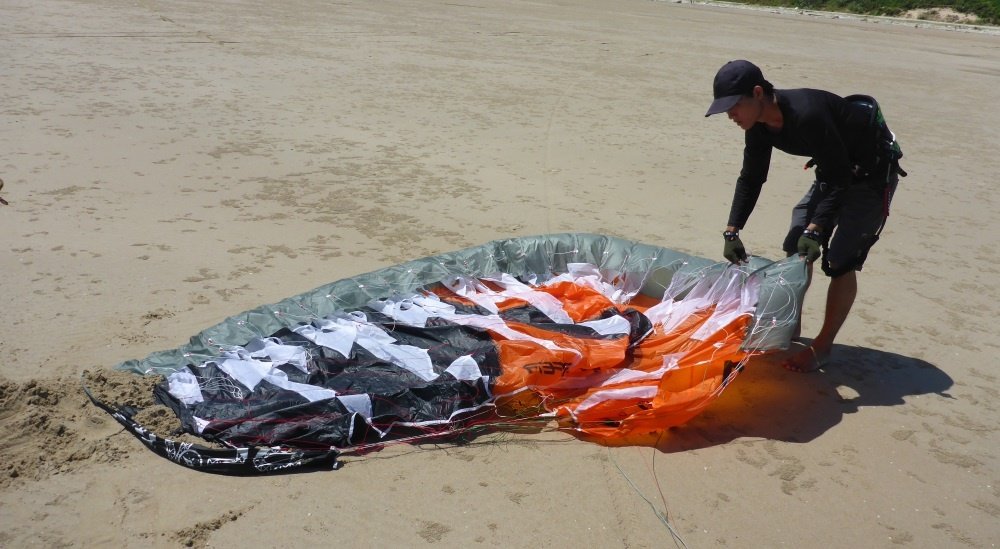
In the next photo he picks up the kite bar and starts unwinding it.

He should do that until some meters past the yellow bridles and the pulleys and until the ring where the kite lines are connected to the kite.
Important to mention that once your kite session it’s over and when packing the kite, you should in the first place make sure that all lines remains in the inside part of the kite and no line should stay out of the inside part of the kite.
And second, start rolling the kite tips together and make sure that the kite bar gets clear of the bridles by placing the kite bar inside the kite the kite once the lines are inside the tip which is already folded.
If the kite bar gets tangled between the lines and bridles, you will need to clear the mess and this could take from just minutes to even half hour.

That important is to separate the kite bar from bridles and lines when we are packing.
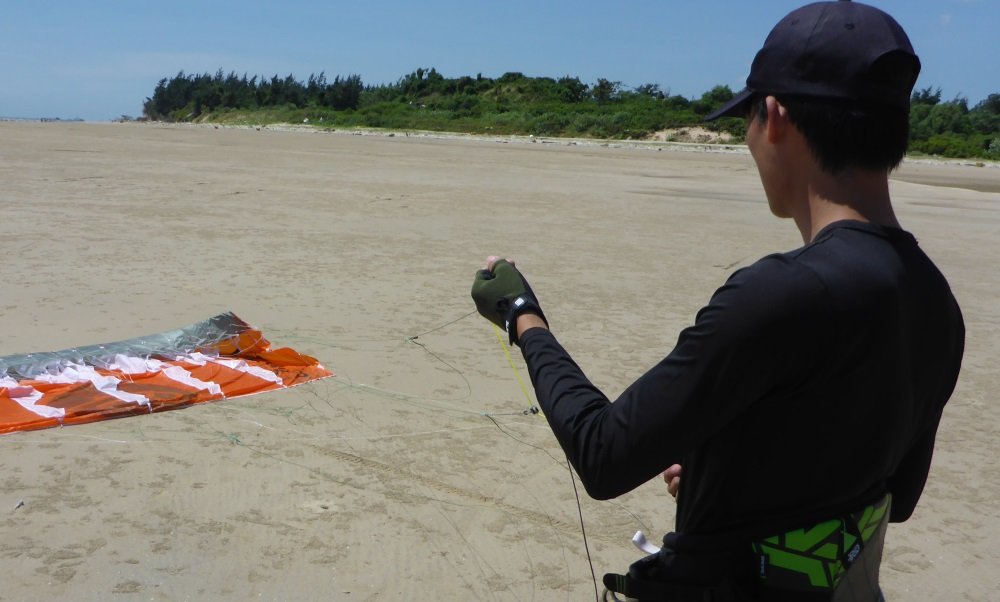
Once the bridles are separated from each set of them on its correct side, it is time to check that bridles and lines are not crossed and pulleys run smoothly. That done, Tuan disconnects each side line from its ring.

He now walks backwards unwinding the kite lines and keeping the lines in an angle of 80 degrees with the incoming wind direction.

Until he places the kite bar on the sand at the end of the lines extended and keeping the green side on the right and the red line on his left side.
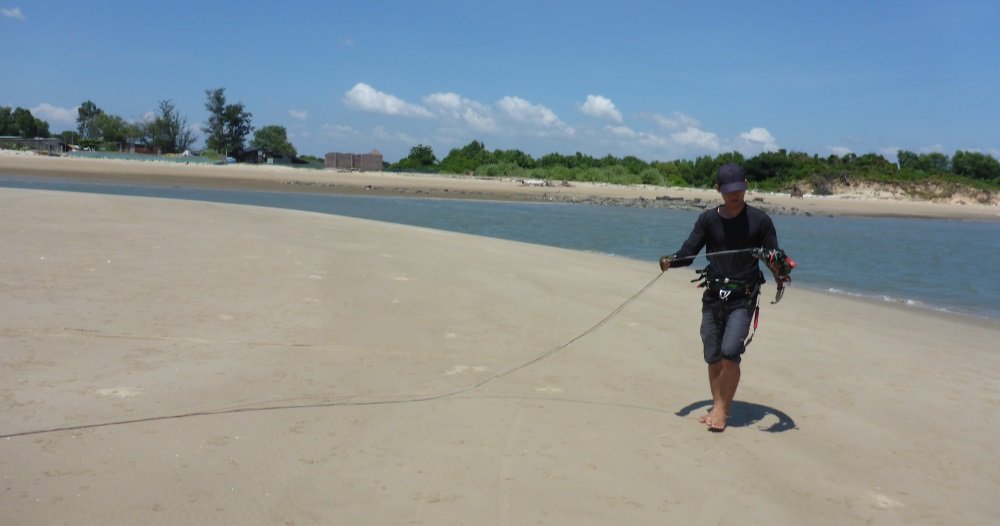
Now is the moment to pull from each line and recover it until its end.

Then he pick each line end, green on his right and red on his left hand and walks towards the kite .

He now, attach each line end with its ring attachment.

Checking once more that all is is correctly done and pulleys are running well.
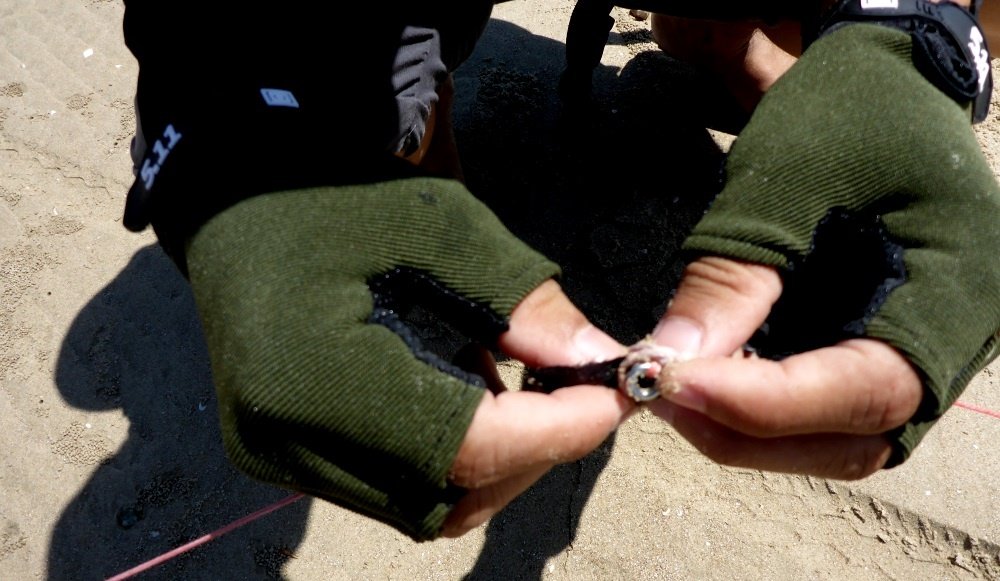
Now is the moment to return to the kite bar and by keeping the bar parallel with what will be the kite in the moment in which it will stand up against the wind, Tuan starts the kite launching.
Your kite is ready for launch
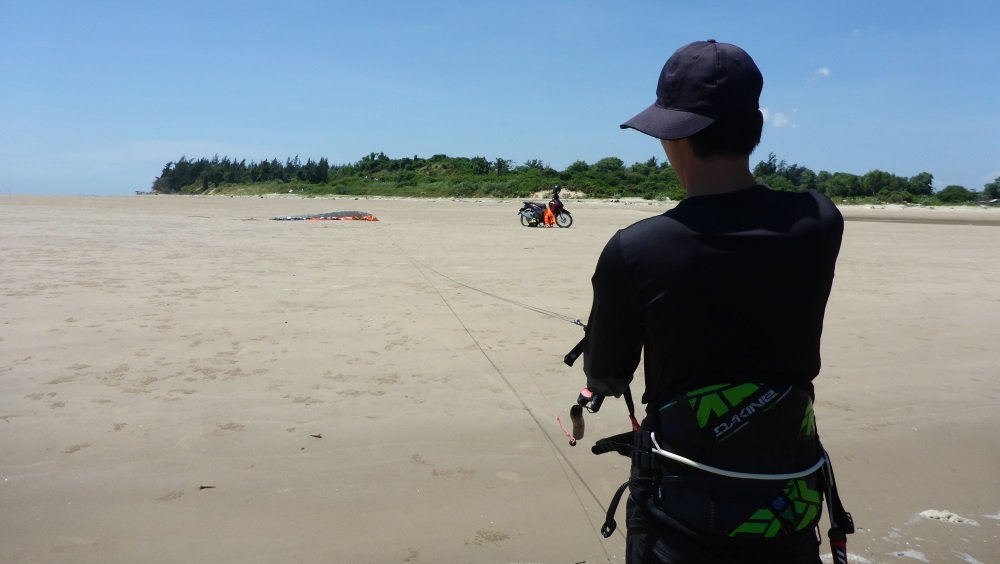
To do this correctly, he will keep kite bar, lines and kite in the same plane, and as the kite starts to rise he will pull with both hands at the time, gently, some 15 centimeters towards his body.

At the same time that he will keep pulling with his right hand -in this case as he is launching the kite from his left side- and then pushing the war away gently to release the excess of wind pressure inside the kite.
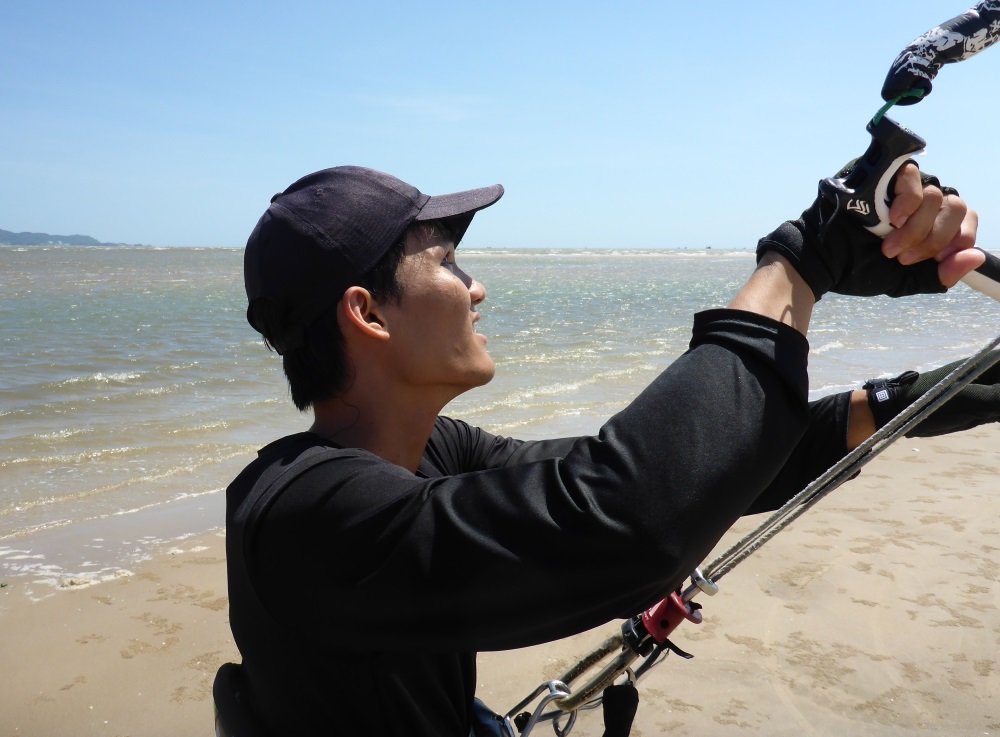
Once that it is done Tuan will keep the kite in the 11h position and will walk towards the water.
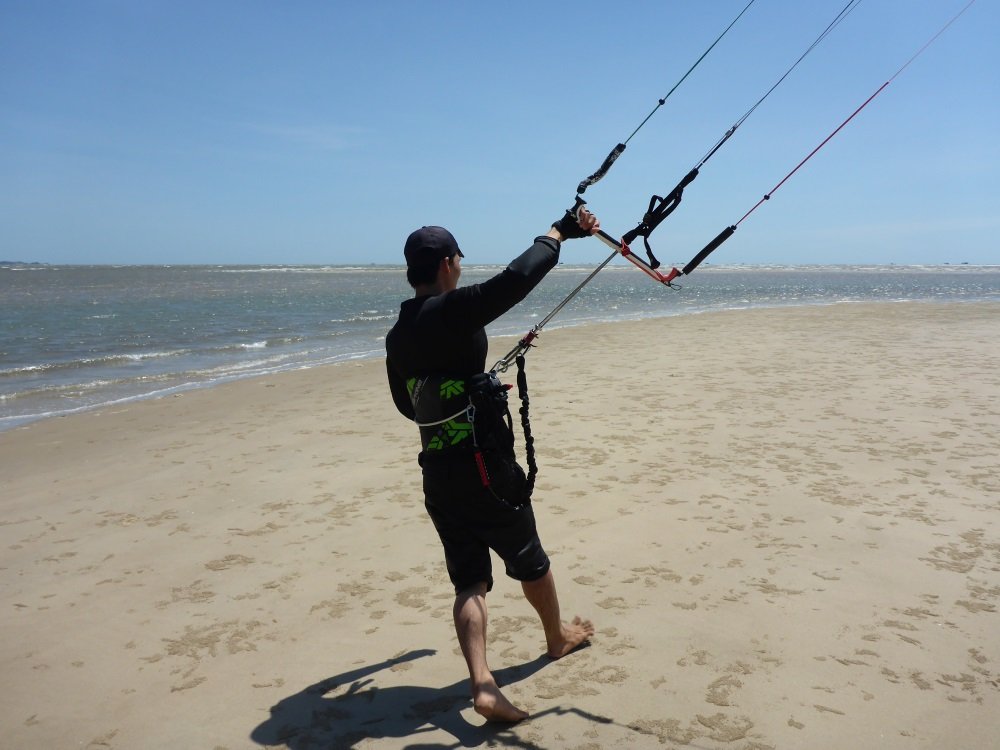
Once in enough depth he will start his bodydrag practices.
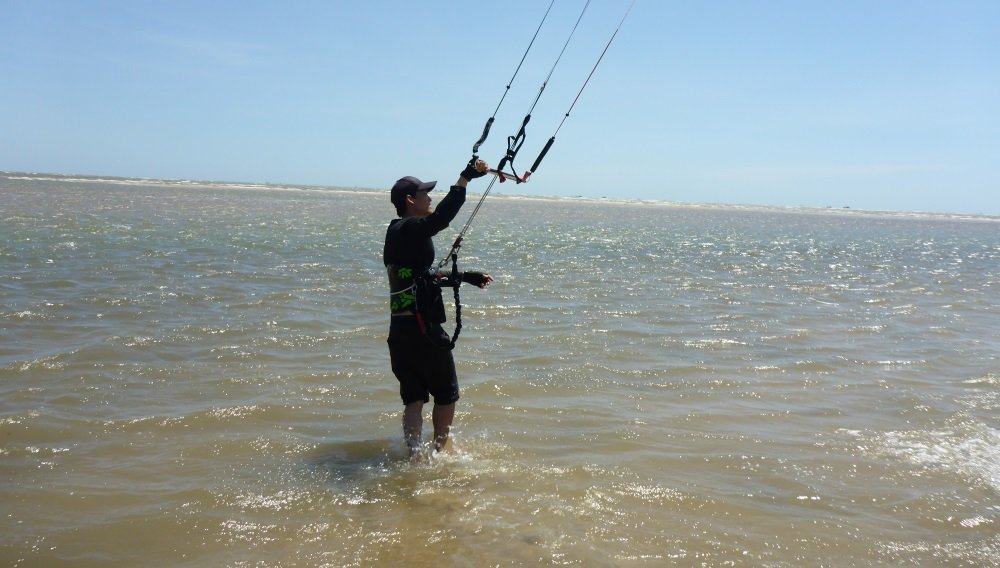
This will take half hour, towards the left and later the right side side on the wind window.

As a final note, just to mention that after training his waterstarts.
Tuan was rehearsing the precise movements that he must do with the kite bar to waterstart. That requires to send the kite from his left at 10h- towards his right side -until 14h- and by pushing gently the bar upwards as the kite is crossing the zenith.
One moment after ,Tuan will pull the kite bar towards himself with both hands. This trip plus the bar pressure towards his body will supply the right amount of power to stand up on the board and start his ride.

By doing so, -nobody should be shocked about it- Tuan, after positioning on the kiteboard with his legs stretched to keep the board in front of him.

Was able to stand up on the kiteboard few meters in which was his first attempt of waterstart.
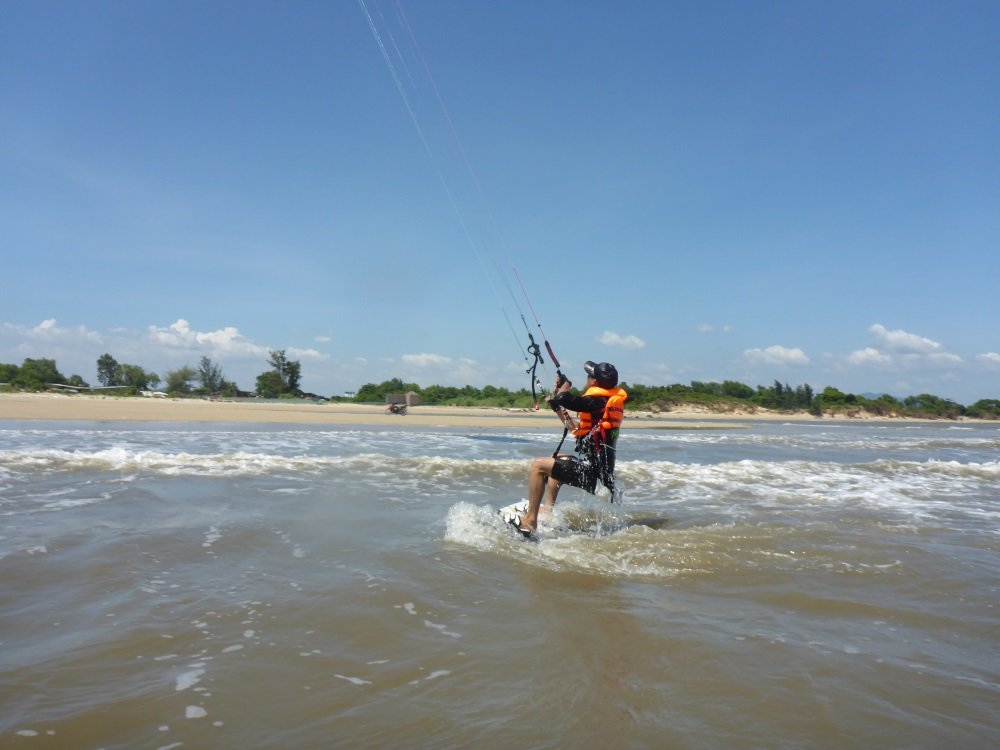
It is only left to congratulate Tuan for his success and thank him for being the photo model for all the photos that illustrate this kite reportage and this blog entry
Do you want to learn Kitesurf in Vietnam?
Book your course at the best price
To contact the school click here

